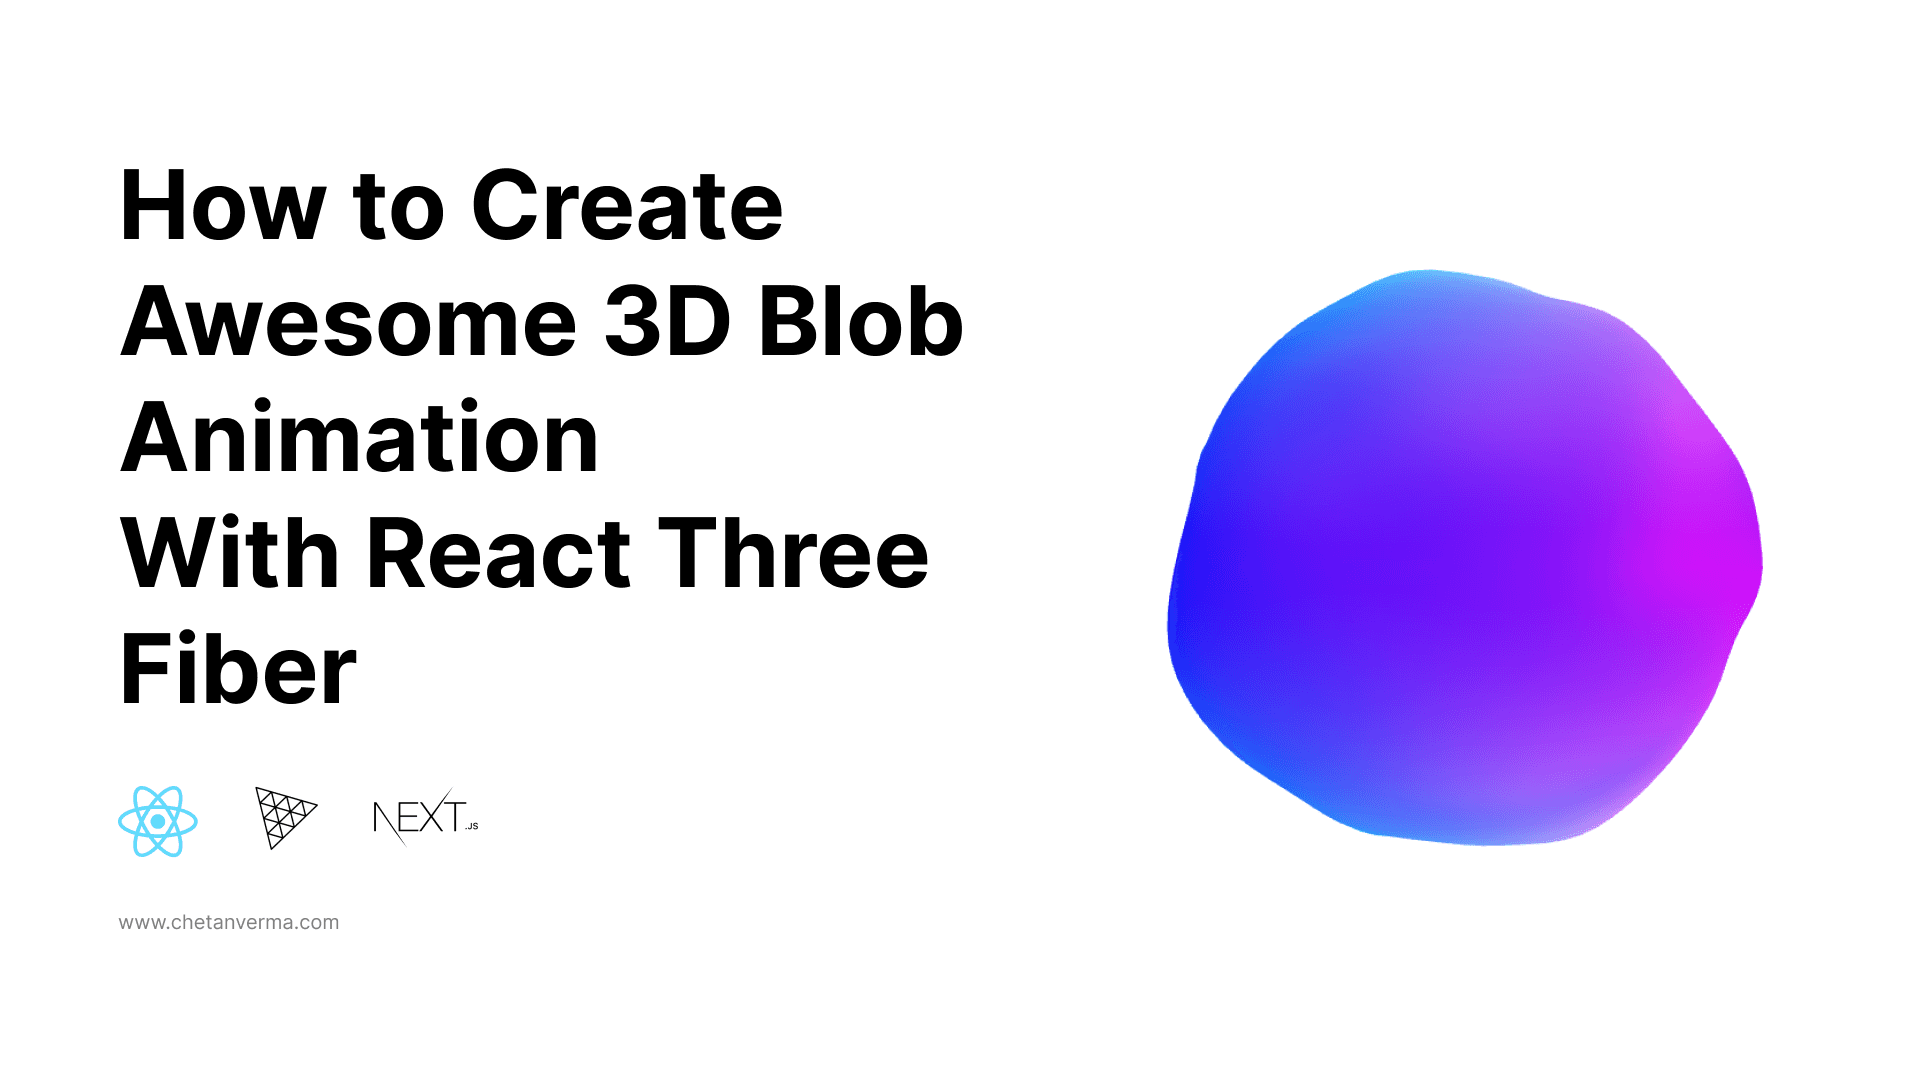
How To Create an Awesome Blob With React Three Fiber
I’m a software engineer specializing in building exceptional digital experiences.
Here is the video for this tutorial -
Introduction
Hey everyone, in this post we will create a blob with react three fiber.
In this blog, we will use Next.js but you can follow this for any React Project.
So to get started with that we need to set up a Next.js app with React Three Fiber.
in your terminal run these commands -
npx create-next-app my-project
cd my-project
So once we have our next app ready.
we are going to add some bare-bone styles to it.
therefore, go to your styles/globals.css and add the CSS properties.
.container {
  position: relative;
  display: flex;
  align-items: center;
  justify-content: center;
  height: 100vh;
  width: 100vw;
  overflow: hidden;
  font-family: "Montserrat", sans-serif;
}

canvas {
  position: fixed;
  top: 0;
  left: 0;
  z-index: -1;
  height: 100vh;
  width: 100vw;
}
Now that we have our basic styling done let's go to our pages/index.js and add Canvas with camera attribute and set it to [0.0,0.0,8.0].
pages/index.js
import { Canvas } from "@react-three/fiber";
import Blob from "../components/Blob";

export default function Home() {
  return (
    <div className="container">
      <Canvas camera={{ position: [0.0, 0.0, 8.0] }}>

      </Canvas>
    </div>
  );
}
Now that we have our canvas ready we can now add our blob to it.
Creating Blob Mesh
Before Creating Our Mesh Let's Understand what meshes are in threejs or react-three-fiber
Mesh - a mesh is a 3D Object which is made up of Geometry and Material
Therefore,
Mesh - Geometry + Material
Geometry is what defines the shape of the Mesh.
The Material defines how the object looks and also what gives it some specific properties like reflection, metalness, roughness, etc.
Now that we know what are meshes let's create one.
so go to your src and create a new folder called components
and under components folder, we are going to create our Blob folder which will contain all the files related to it.
components/Blob/index.js
import React, { useRef } from "react";
const Blob = () => {
// reference for mesh
  const mesh = useRef();

  return (
    <mesh
      ref={mesh}
      scale={1.5}
      position={[0, 0, 0]}
    >
// Mesh - Geometry + Material
// Geometry
      <icosahedronBufferGeometry args={[2, 20]} />
// Material
      <meshStandardMaterial />
    </mesh>
  );
};

export default Blob;
and let's add this back to our canvas.
    <Canvas camera={{ position: [0.0, 0.0, 8.0] }}>
        <Blob />
    </Canvas>
we will have our mesh look like this on the screen -
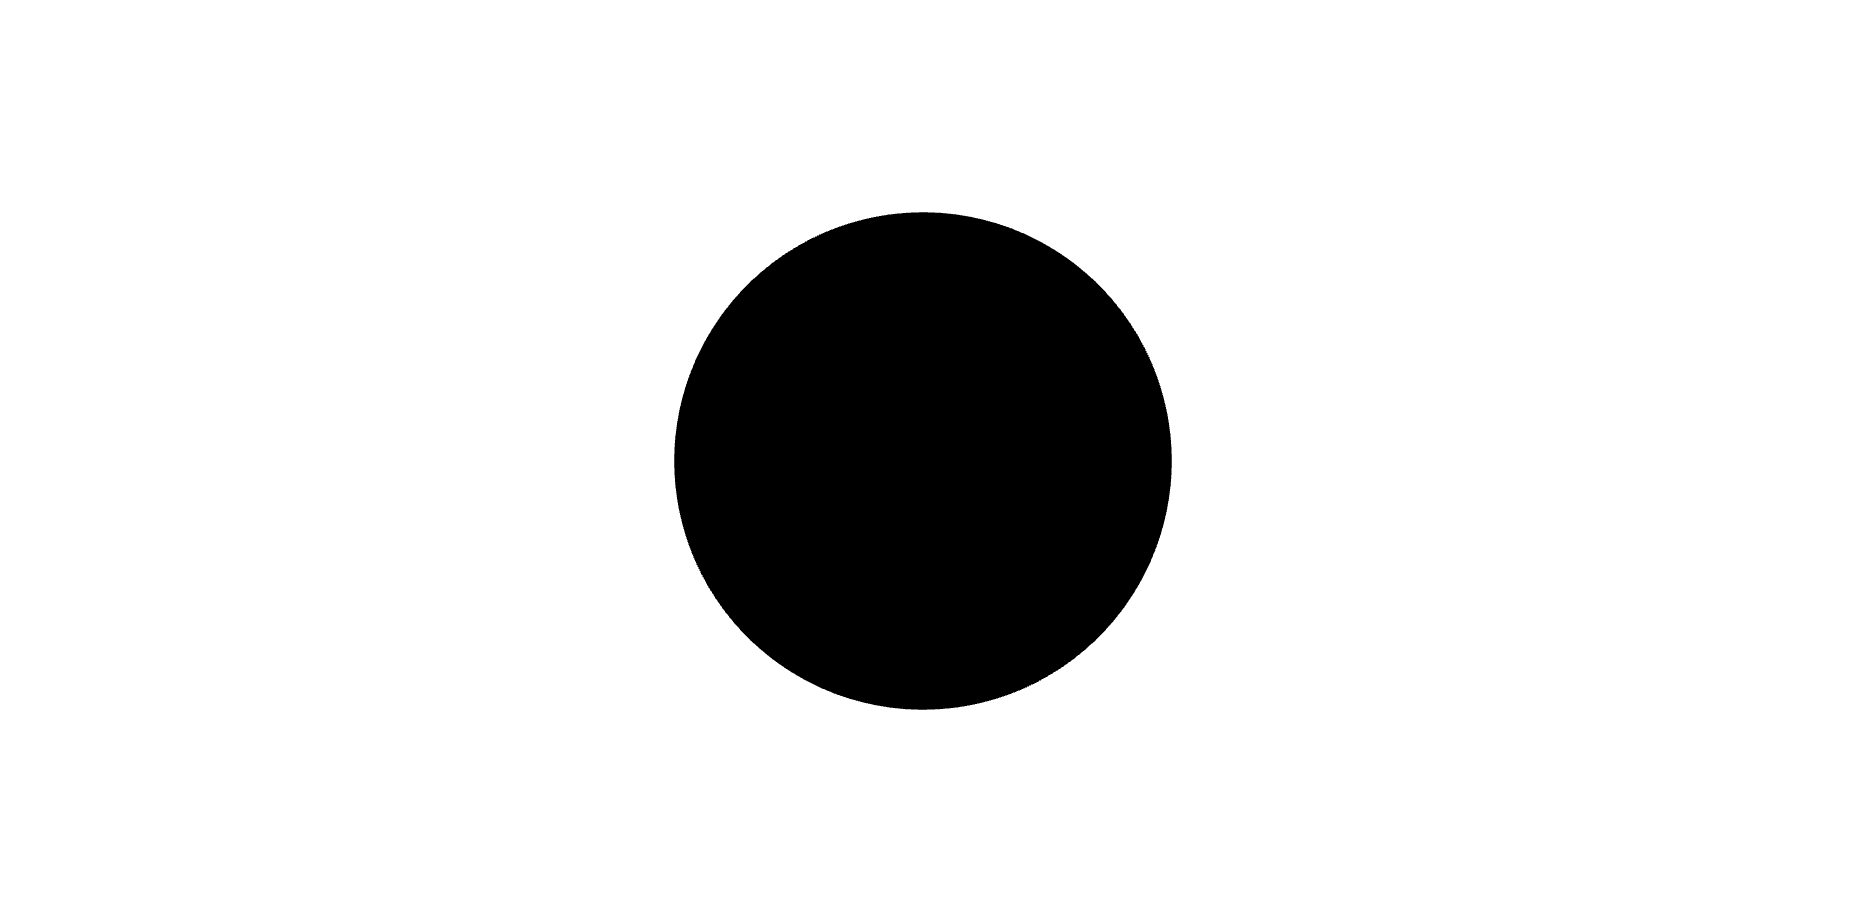
Yeah, it doesn't look like our blob yet for that we need to learn one more concept which is a shader.
What is a Shader -
A shader is a program, written in GLSL, that runs on the GPU. This program consists of two main functions that can output both 2D and 3D content:
and those two main functions are -
Vertex Shader
Fragment Shader
Let's learn about those ones by one, and then we will create our custom shader.
Vertex Shader -
The role of the vertex shader is to position each vertex of a geometry.
In simpler terms, this shader function allows you to programmatically alter the shape of your geometry and, potentially animate them.
Fragment Shader -
The role of the Fragment Shader is to set the color of each visible pixel of a geometry.
and when we combine vertex and fragment shader we get a totally new Material.
let's create our custom shader for our Blob
Creating Custom Shader
In our Blob component replace <meshStandardMaterial /> with <shaderMaterial/> , and pass in two functions vertexShader and fragmentShader this will create our custom shader material.
import React, { useMemo, useRef } from "react";
import vertexShader from "./vertexShader";
import fragmentShader from "./fragmentShader";

const Blob = () => {
  const mesh = useRef();

  return (
    <mesh
      ref={mesh}
      scale={1.5}
      position={[0, 0, 0]}
    >
      <icosahedronBufferGeometry args={[2, 20]} />
      <shaderMaterial
        vertexShader={vertexShader}
        fragmentShader={fragmentShader}
      />
    </mesh>
  );
};

export default Blob;
now let's add some GLSL to our shader.
now create a new file under components/Blob/vertexShader.js
vertexShader.js -
const vertexShader = `
uniform float u_intensity;
uniform float u_time;

varying vec2 vUv;
varying float vDisplacement

void main() {
      vUv = uv;
    vec3 newPosition = position + normal * vec3(u_intensity * sin(position.y * 10.0 + u_time));
    vDisplacement = sin(position.y * 10.0 + u_time);
    gl_Position = projectionMatrix * modelViewMatrix * vec4(newPosition, 1.0);
}
`;

export default vertexShader;
you can see some variables defined with
uniformandvaryingprefixes we will learn about those later in this post.this function runs for every vertex and sets a property called
gl_Positionthat contains the x,y, and z coordinates of a given vertex on the screen.
Now we have our vertexShader function let's add fragmentShader function to complete our shaderMaterial.
fragmentShader.js
const fragmentShader = `
uniform float u_intensity;
uniform float u_time;

varying vec2 vUv;
varying float vDisplacement;

void main() {
    float distort = 2.0 * vDisplacement * u_intensity * sin(vUv.y * 10.0 + u_time);
// this defines our gradient
    vec3 color = vec3(abs(vUv - 0.5) * 2.0  * (1.0 - distort), 1.0);
    gl_FragColor = vec4(color, 1.0);
}

`;

export default fragmentShader;
Similarly, here we have a
uniformandvaryingvariables.this function runs for each pixel and sets the color of that pixel and the variable which is responsible for that is
gl_FragColorwhich is avec4.
after defining those let's see what we have on our screen.

Great, we have our blob with gradient .
now we just need to animate it and then we will have our Blob ready.
Let's do that.
Animating Our Blob.
To animate our Blob we need to understand what are uniforms and varying
Uniforms - To pass data from your Javascript code into your shader, we need to use uniforms. A uniform acts as an input to both vertex and fragment shader.
Varyings - A varying is a variable that can be declared and set in the vertex shader to be read by the fragment shader.
ok so now we know what are uniforms and varyings let's use this knowledge to animate our Blob.
so, in our Blob let's create a new memoized value using useMemo and name it uniforms and under that, we are going to add an object with the property u_time and u_intesity which we have already defined in our vertex and fragment shader functions.
  const uniforms = useMemo(() => {
    return {
      u_time: { value: 0 },
      u_intensity: { value: 0.3 },
    };
  });
and now let's pass our uniforms to our shaderMaterial
 <shaderMaterial
        vertexShader={vertexShader}
        fragmentShader={fragmentShader}
        uniforms={uniforms}
      />
Perlin Noise -
now we have our uniforms passed to our shaderMaterial, but to have an animation behave like an BLOB animation we need to use something called perlin noises .
let's add our perlin noise to our vertexShader
const vertexShader = `
uniform float u_intensity;
uniform float u_time;

varying vec2 vUv;
varying float vDisplacement;

// Classic Perlin 3D Noise
// by Stefan Gustavson
//
vec4 permute(vec4 x) {
    return mod(((x*34.0)+1.0)*x, 289.0);
}

vec4 taylorInvSqrt(vec4 r) {
    return 1.79284291400159 - 0.85373472095314 * r;
}

vec3 fade(vec3 t) {
    return t*t*t*(t*(t*6.0-15.0)+10.0);
}

float cnoise(vec3 P) {
    vec3 Pi0 = floor(P); // Integer part for indexing
    vec3 Pi1 = Pi0 + vec3(1.0); // Integer part + 1
    Pi0 = mod(Pi0, 289.0);
    Pi1 = mod(Pi1, 289.0);
    vec3 Pf0 = fract(P); // Fractional part for interpolation
    vec3 Pf1 = Pf0 - vec3(1.0); // Fractional part - 1.0
    vec4 ix = vec4(Pi0.x, Pi1.x, Pi0.x, Pi1.x);
    vec4 iy = vec4(Pi0.yy, Pi1.yy);
    vec4 iz0 = Pi0.zzzz;
    vec4 iz1 = Pi1.zzzz;

    vec4 ixy = permute(permute(ix) + iy);
    vec4 ixy0 = permute(ixy + iz0);
    vec4 ixy1 = permute(ixy + iz1);

    vec4 gx0 = ixy0 / 7.0;
    vec4 gy0 = fract(floor(gx0) / 7.0) - 0.5;
    gx0 = fract(gx0);
    vec4 gz0 = vec4(0.5) - abs(gx0) - abs(gy0);
    vec4 sz0 = step(gz0, vec4(0.0));
    gx0 -= sz0 * (step(0.0, gx0) - 0.5);
    gy0 -= sz0 * (step(0.0, gy0) - 0.5);

    vec4 gx1 = ixy1 / 7.0;
    vec4 gy1 = fract(floor(gx1) / 7.0) - 0.5;
    gx1 = fract(gx1);
    vec4 gz1 = vec4(0.5) - abs(gx1) - abs(gy1);
    vec4 sz1 = step(gz1, vec4(0.0));
    gx1 -= sz1 * (step(0.0, gx1) - 0.5);
    gy1 -= sz1 * (step(0.0, gy1) - 0.5);

    vec3 g000 = vec3(gx0.x,gy0.x,gz0.x);
    vec3 g100 = vec3(gx0.y,gy0.y,gz0.y);
    vec3 g010 = vec3(gx0.z,gy0.z,gz0.z);
    vec3 g110 = vec3(gx0.w,gy0.w,gz0.w);
    vec3 g001 = vec3(gx1.x,gy1.x,gz1.x);
    vec3 g101 = vec3(gx1.y,gy1.y,gz1.y);
    vec3 g011 = vec3(gx1.z,gy1.z,gz1.z);
    vec3 g111 = vec3(gx1.w,gy1.w,gz1.w);

    vec4 norm0 = taylorInvSqrt(vec4(dot(g000, g000), dot(g010, g010), dot(g100, g100), dot(g110, g110)));
    g000 *= norm0.x;
    g010 *= norm0.y;
    g100 *= norm0.z;
    g110 *= norm0.w;
    vec4 norm1 = taylorInvSqrt(vec4(dot(g001, g001), dot(g011, g011), dot(g101, g101), dot(g111, g111)));
    g001 *= norm1.x;
    g011 *= norm1.y;
    g101 *= norm1.z;
    g111 *= norm1.w;

    float n000 = dot(g000, Pf0);
    float n100 = dot(g100, vec3(Pf1.x, Pf0.yz));
    float n010 = dot(g010, vec3(Pf0.x, Pf1.y, Pf0.z));
    float n110 = dot(g110, vec3(Pf1.xy, Pf0.z));
    float n001 = dot(g001, vec3(Pf0.xy, Pf1.z));
    float n101 = dot(g101, vec3(Pf1.x, Pf0.y, Pf1.z));
    float n011 = dot(g011, vec3(Pf0.x, Pf1.yz));
    float n111 = dot(g111, Pf1);

    vec3 fade_xyz = fade(Pf0);
    vec4 n_z = mix(vec4(n000, n100, n010, n110), vec4(n001, n101, n011, n111), fade_xyz.z);
    vec2 n_yz = mix(n_z.xy, n_z.zw, fade_xyz.y);
    float n_xyz = mix(n_yz.x, n_yz.y, fade_xyz.x);
    return 2.2 * n_xyz;
}

// End of Perlin Noise Code


void main() {
    vUv = uv;

    vDisplacement = cnoise(position + vec3(2.0 * u_time));

    vec3 newPosition = position + normal * (u_intensity * vDisplacement);

    vec4 modelPosition = modelMatrix * vec4(newPosition, 1.0);
    vec4 viewPosition = viewMatrix * modelPosition;
    vec4 projectedPosition = projectionMatrix * viewPosition;

    gl_Position = projectedPosition;
}
`;

export default vertexShader;
now let's add useFrame the function provided @react-three/fiber to change our uniform variables based on each frame, which will result in our blob animating.
import React, { useMemo, useRef } from "react";
import vertexShader from "./vertexShader";
import fragmentShader from "./fragmentShader";
import { useFrame } from "@react-three/fiber";
import { MathUtils } from "three";

const Blob = () => {
  const mesh = useRef();
  const uniforms = useMemo(() => {
    return {
      u_time: { value: 0 },
      u_intensity: { value: 0.3 },
    };
  });

  useFrame((state) => {
    const { clock } = state;
    if (mesh.current) {
      mesh.current.material.uniforms.u_time.value =
        0.4 * clock.getElapsedTime();

      mesh.current.material.uniforms.u_intensity.value = MathUtils.lerp(
        mesh.current.material.uniforms.u_intensity.value,
       0.15,
        0.02
      );
    }
  });
  return (
    <mesh
      ref={mesh}
      scale={1.5}
      position={[0, 0, 0]}
    >
      <icosahedronBufferGeometry args={[2, 20]} />
      <shaderMaterial
        vertexShader={vertexShader}
        fragmentShader={fragmentShader}
        uniforms={uniforms}
      />
    </mesh>
  );
};

export default Blob;
and now, we will have our blob animating -
Conclusion
That's all I have for you! Hopefully, you learned something new.
If you enjoyed this article, give it a ❤️ so others can find it too.
For more such content, stay in touch on Twitter
Contact Me: