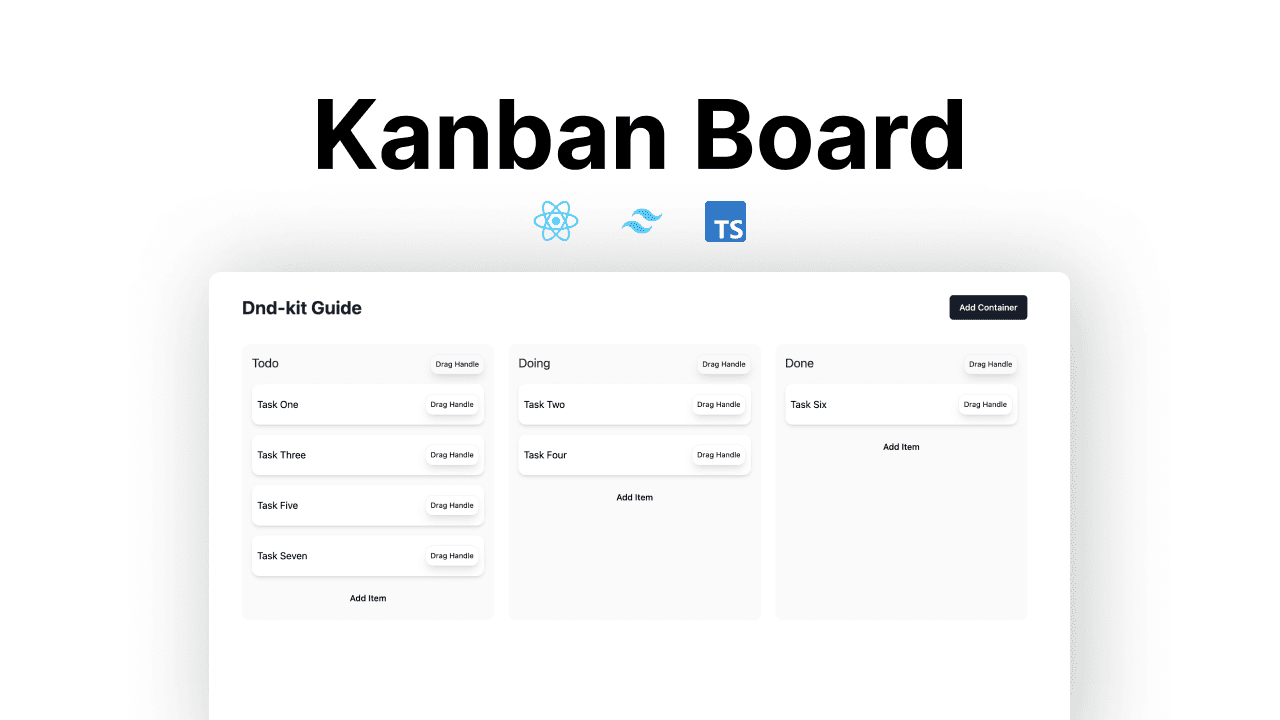
How to create Awesome text animation with framer-motion

I’m a software engineer specializing in building exceptional digital experiences.
Here is the video for this tutorial -
%[https://youtu.be/wgXLE_GZ9sM]
Hey Internet, In this blog, we will create text animations with framer-motion.
In this blog, we are going to use Next.js but you can follow this for any React Project.
So to get started with that we need to first set up a Next.js app with tailwindcss and framer-motion.
in your terminal run these commands -
npx create-next-app my-project
cd my-project
once that is complete we are going to add tailwindcss and framer-motion
for tailwind CSS follow this guide to set it up - https://tailwindcss.com/docs/guides/nextjs and for the framer-motion, we are going to run this command
npm i framer-motion
so once we are done and set up let's get started and animate the text.
Animating Text By Word
We are going to create a new component under component/AnimatedTextWord.js
import React from "react";
const AnimatedTextWord = ({ text }) => {
// This will split the text into an array of word
const words = text.split(" ");

  return (
    <div>
      {words.map((word, index) => (
        <span key={index} style={{ marginRight: "5px" }}>
          {word}
        </span>
      ))}
    </div>
  );
};

export default AnimatedTextWord;
Centering Everything on the screen
After creating the barebone of the component let's add it to our index.js page.
pages/index.js
import AnimatedTextCharacter from "../component/AnimatedTextCharacter";
import AnimatedTextWord from "../component/AnimatedTextWord";

export default function Home() {
  return (
    <div className="container h-screen mx-auto flex flex-col items-center justify-center">
      <AnimatedTextWord text="animated text with framer-motion" />
    </div>
  );
}
We will have something like this on the screen -
So let's get started on animating the text.
The next thing we have to do is to add motion to our text elements
we are going to use variants from framer-motion to have the two-state - visible & hidden
hidden - Initial state of the elements
visible - final state of the elements
then, framer-motion is going to do its magic to create animation between those states.
Here is the code -
import React from "react";
import { motion } from "framer-motion";

const AnimatedTextWord = ({ text }) => {
  const words = text.split(" ");

// Variants for Container of words.
  const container = {
    hidden: { opacity: 0 },
    visible: (i = 1) => ({
      opacity: 1,
      transition: { staggerChildren: 0.12, delayChildren: 0.04 * i },
    }),
  };

// Variants for each word.

  const child = {
    visible: {
      opacity: 1,
      x: 0,
      transition: {
        type: "spring",
        damping: 12,
        stiffness: 100,
      },
    },
    hidden: {
      opacity: 0,
      x: 20,
      transition: {
        type: "spring",
        damping: 12,
        stiffness: 100,
      },
    },
  };

  return (
    <motion.div
      style={{ overflow: "hidden", display: "flex", fontSize: "2rem" }}
      variants={container}
      initial="hidden"
      animate="visible"
    >
      {words.map((word, index) => (
        <motion.span
          variants={child}
          style={{ marginRight: "5px" }}
          key={index}
        >
          {word}
        </motion.span>
      ))}
    </motion.div>
  );
};

export default AnimatedTextWord;
after adding the motion to our elements we will have something like this -
Now we have our animating text word by word.
Let's quickly add the animation for letters.
we are going to do the same thing but now we are going to split the text into letters instead of words and remove some styling that we added in the word animation to add an extra margin to the left of each word.
components/AnimatedTextCharacter.js -
import React from "react";
import { motion } from "framer-motion";

const AnimatedTextCharacter = ({ text }) => {
// splitting text into letters
  const letters = Array.from(text);

// Variants for Container
  const container = {
    hidden: { opacity: 0 },
    visible: (i = 1) => ({
      opacity: 1,
      transition: { staggerChildren: 0.03, delayChildren: 0.04 * i },
    }),
  };

// Variants for each letter
  const child = {
    visible: {
      opacity: 1,
      x: 0,
      y: 0,
      transition: {
        type: "spring",
        damping: 12,
        stiffness: 100,
      },
    },
    hidden: {
      opacity: 0,
      x: -20,
      y: 10,
      transition: {
        type: "spring",
        damping: 12,
        stiffness: 100,
      },
    },
  };

  return (
    <motion.div
      style={{ overflow: "hidden", display: "flex", fontSize: "2rem" }}
      variants={container}
      initial="hidden"
      animate="visible"
    >
      {letters.map((letter, index) => (
        <motion.span variants={child} key={index}>
          {letter === " " ? "\u00A0" : letter}
        </motion.span>
      ))}
    </motion.div>
  );
};

export default AnimatedTextCharacter;
Now at last we just need to add AnimatedTextCharacter To our index.js page.
import AnimatedTextCharacter from "../component/AnimatedTextCharacter";
import AnimatedTextWord from "../component/AnimatedTextWord";
export default function Home() {
return (
<div className="container h-screen mx-auto flex flex-col items-center justify-center">
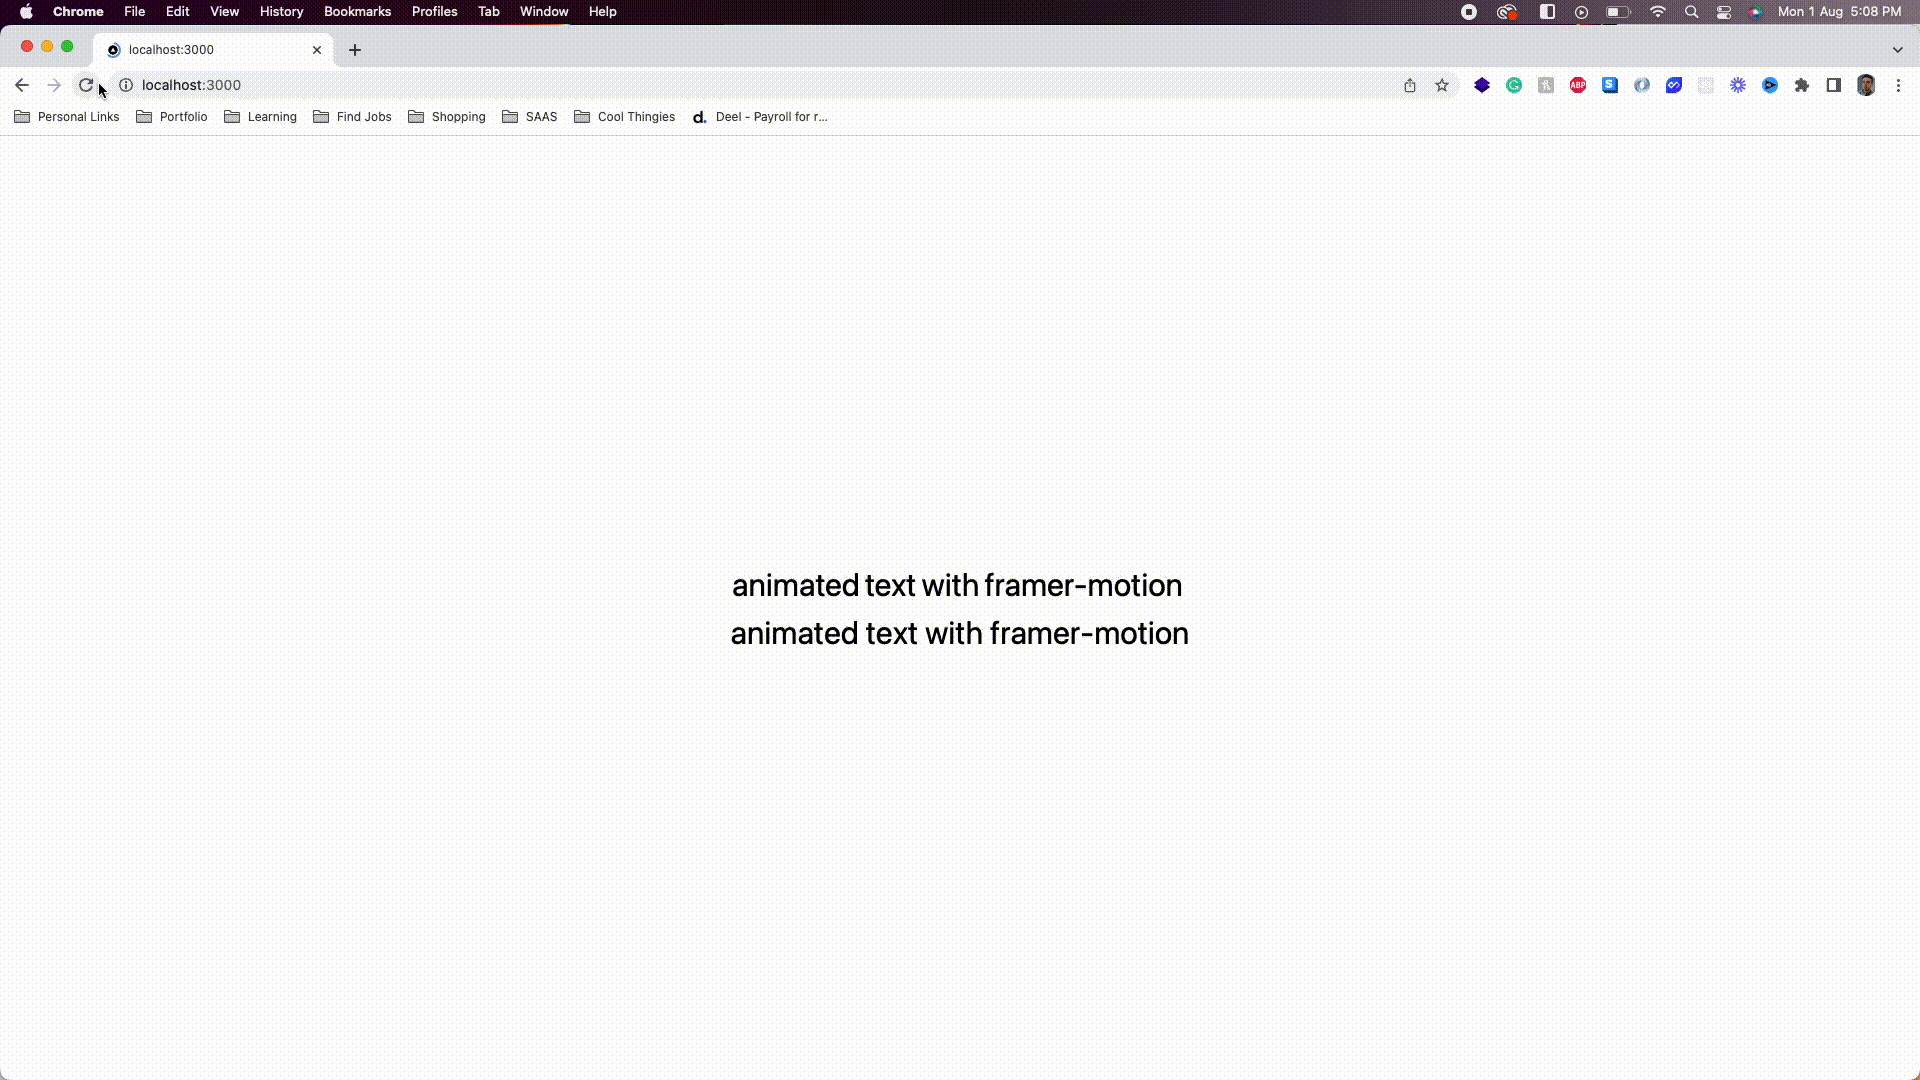
<AnimatedTextWord text="animated text with framer-motion" />
<AnimatedTextCharacter text="animated text with framer-motion" />
</div>
);
}
Now, we will have both animations -
Conclusion
That's all I have for you! Hopefully, you learned something new, and you use later end up using this animation to liven up your own websites!
Enjoy the rest of your day 👋
If you enjoyed this article, give it a ❤️ so others can find it too.
For more such content, stay in touch on Twitter
Contact Me: